
Render cleaning: how to get it clean without wrecking it
Rendered walls make a property look sharp when they are clean and tired the moment they are not. Green algae on the shaded elevation, black streaking under sills and grey grime along the splash zone are the three complaints we hear most.
Render is also the surface most often damaged by well-meant cleaning. This guide explains why it stains, which methods are safe on which systems, and what results are realistic.
Need this sorted?
Need render cleaning? Get a quote from Sky Scrapers.
Why render goes green and black
Render is slightly porous and holds moisture, which makes it an excellent home for algae. North and east elevations, walls shaded by fencing or planting, and anything within splash range of a path or a driveway green up first.
Black streaking is usually a different problem. It comes from water running off sills, copings, gutter joints and overflow points, carrying dirt down the face in a consistent line. Cleaning removes it, but unless the water path is corrected it returns.
Orange or brown patches often indicate iron in the substrate or rusting fixings, and pink or grey blotching on newer thin-coat systems can be efflorescence rather than dirt. The cause matters, because not every mark is a cleaning problem.
Know which render you have
- Traditional sand and cement render, usually painted, common on older Bedfordshire housing. Reasonably robust but the paint film is not.
- Monocouche, a through-coloured single-coat system with a scraped texture. The colour is in the material, so damage cannot be painted out easily.
- Thin-coat acrylic and silicone systems such as K-Rend. Thin, textured and applied over insulation or mesh, these are the most vulnerable of all to pressure.
- Pebbledash and roughcast, which trap dirt in the texture and need chemical action rather than force to clean properly.
Why pressure washing render is a bad idea
A pressure lance will clean render very quickly. It will also open the surface texture, remove the top layer of a through-coloured finish, drive water behind the system at joints and reveals, and on thin-coat systems it can cut straight back to the mesh.
The damage is often not obvious on the day. What shows up is a patchy, lighter finish six months later where the surface has been thinned, and faster recolonisation because the opened texture holds more moisture than it did before.
Rendered walls over external wall insulation deserve particular caution. Water forced behind the system has nowhere useful to go.
The safe method
Render is soft washed. A biocidal solution is applied at low pressure, left to work on the organic growth, then rinsed gently. Heavier soiling may need a second application rather than more force.
Preparation matters as much as the chemistry. Planting is sheeted or wetted, windows and doors are protected, downpipes and air bricks are considered, and the work is planned so that runs of solution do not dry on glass or paintwork.
Results on render are usually visible the same day, unlike roofs. The green disappears, the surface returns towards its original colour, and the treatment continues to inhibit regrowth afterwards.
What cleaning will not fix
Cracks, blown or hollow sections, failed beads and staining that comes from a persistent water path are all repair issues. We will tell you when what you are looking at is a defect rather than dirt, because cleaning it will only reset the clock for a few weeks.
Similarly, faded paint on a rendered wall does not come back with cleaning. Once the growth is gone, you may find the wall needs repainting rather than washing again.
Keeping render clean for longer
Cut back planting so air can move across the wall, keep gutters and downpipes clear so water is not running down the face, and deal with overflow points as soon as you see a streak forming.
A maintenance soft wash every couple of years costs far less than letting the growth get established, and on shaded elevations it is the difference between a wall that looks cared for and one that does not.
Our own photographs
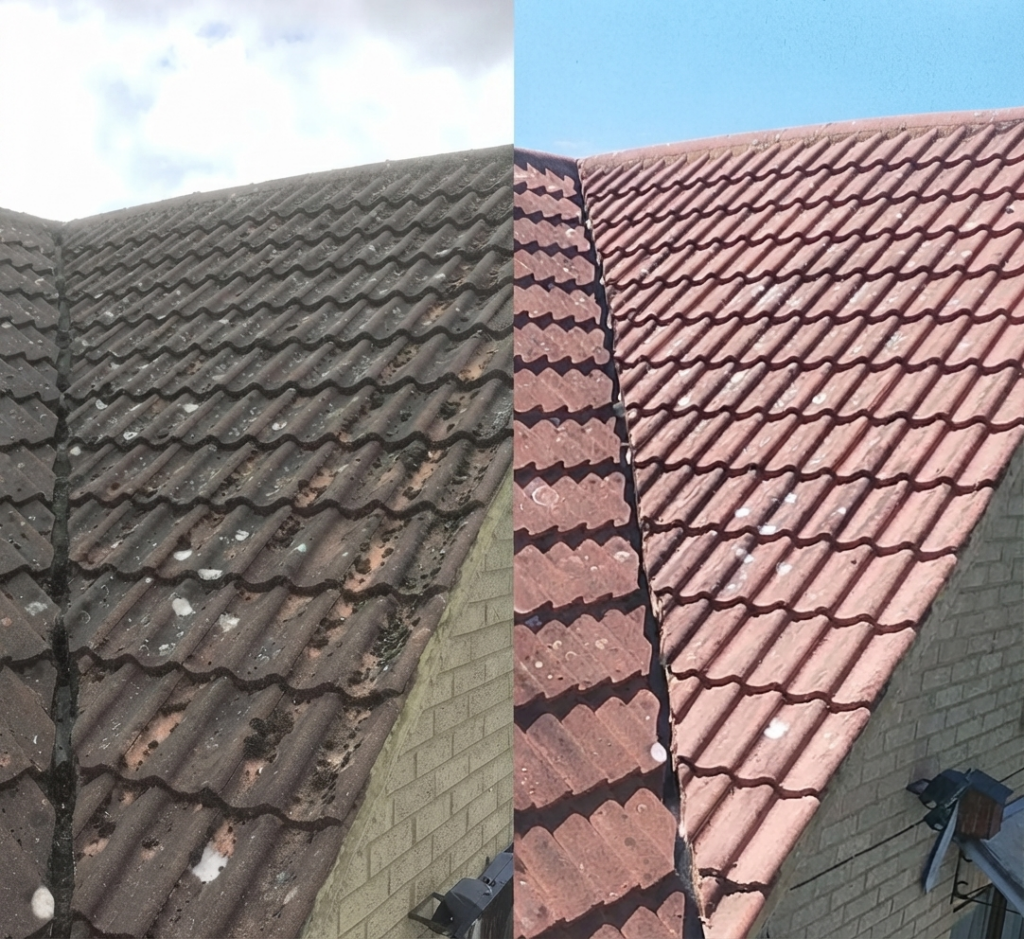
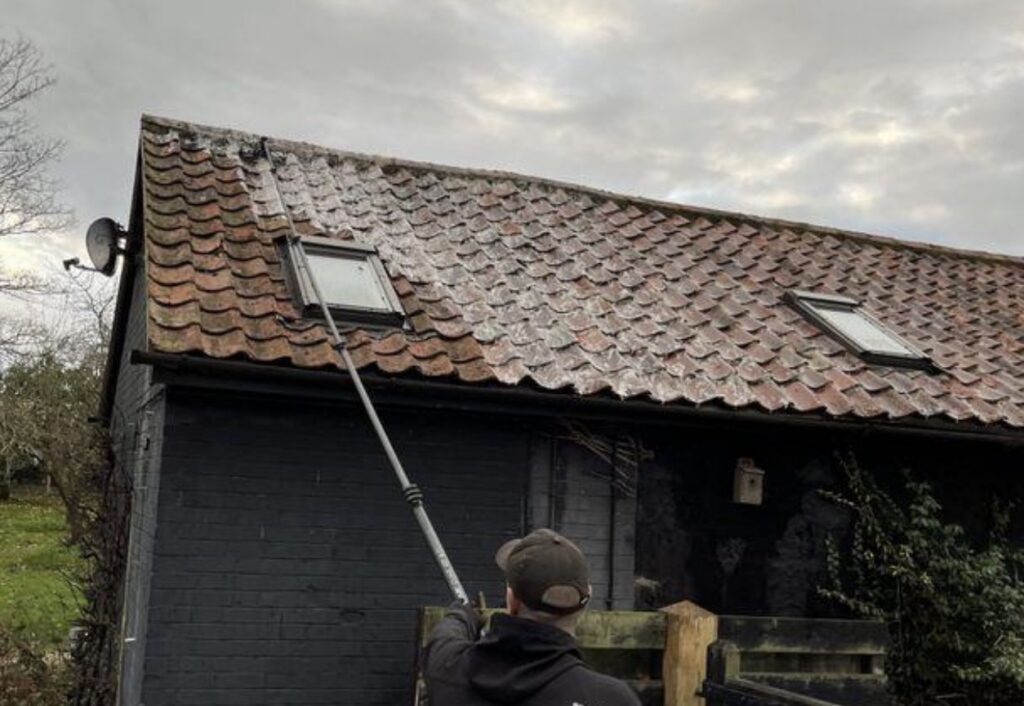
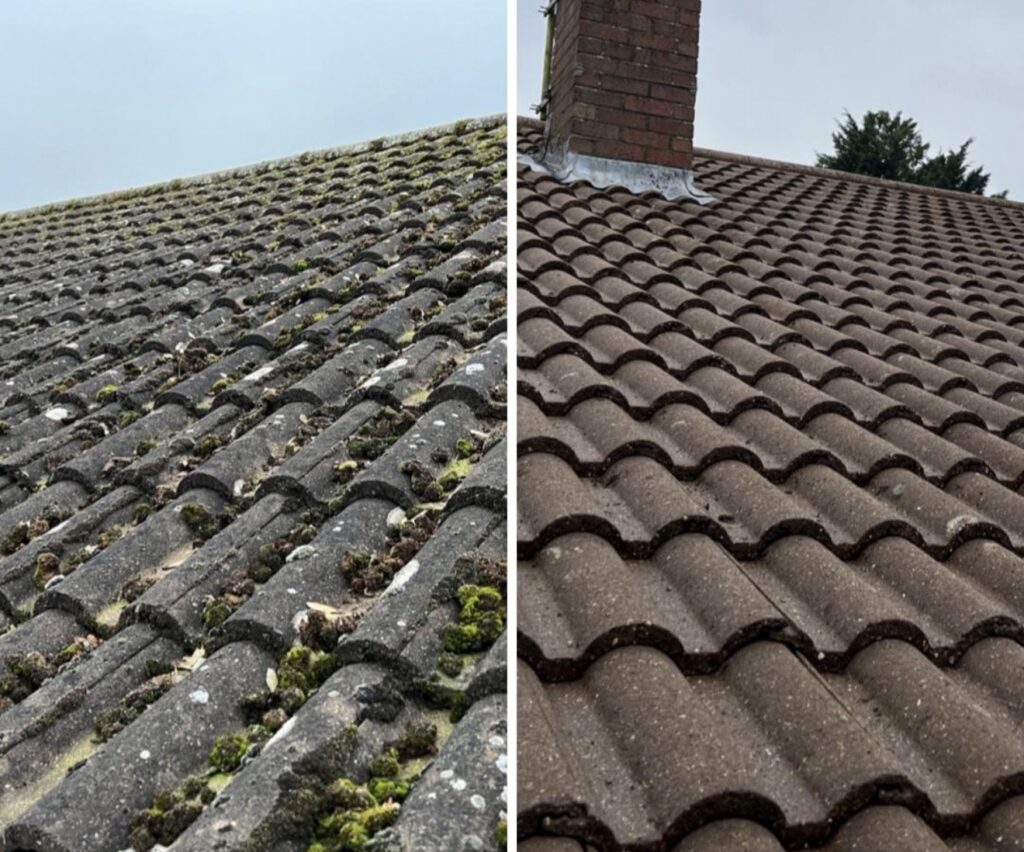
Images from Sky Scrapers Ltd work showing the methods described on this page.
Where this applies locally
Towns where this comes up most often on our patch:
- Softwashing & Biocide Treatment in Milton KeynesBuckinghamshire · MK1
- Softwashing & Biocide Treatment in BedfordBedfordshire · MK40
- Softwashing & Biocide Treatment in LutonBedfordshire · LU1
- How does soft washing work?Method guide
- What sets the price of render cleaningCost guide
- Why pressure washing damages roof tilesGuide
Want a professional to handle it?
Bring the render back
Low-pressure treatment matched to your render system, with planting and glazing protected throughout.
Sky Scrapers Ltd · info@sky-scrapers.co.uk
Questions we get asked
Can you clean K-Rend and silicone render safely?
Yes. Those systems should only ever be soft washed. Pressure washing them risks permanent damage to the finish.
Will cleaning remove the colour from monocouche render?
Not with low-pressure chemical cleaning. Colour loss on through-coloured render is almost always caused by a pressure lance thinning the surface.
How long does render stay clean afterwards?
Typically a few years on open, sunny elevations and less on shaded north-facing walls or those close to planting. A maintenance treatment keeps it ahead of the growth.
Do you clean painted render?
Yes, with the solution strength matched to the paint film. Sound masonry paint takes soft washing well; flaking paint will need redecoration rather than cleaning.
Can render and the roof be done in one visit?
Usually yes, and it is more economical because the access setup and protection are shared.
In short
Render stains because it holds moisture and carries water paths. Soft washing removes the growth without opening the surface; pressure washing cleans faster and costs you the finish. Identify the system first, then treat it gently.
Related services
Covering Bedfordshire and surrounding counties